Import Resources
To import a new Content or Software Resource, navigate to the “Import Resource” page using the sidebar navigation menu.
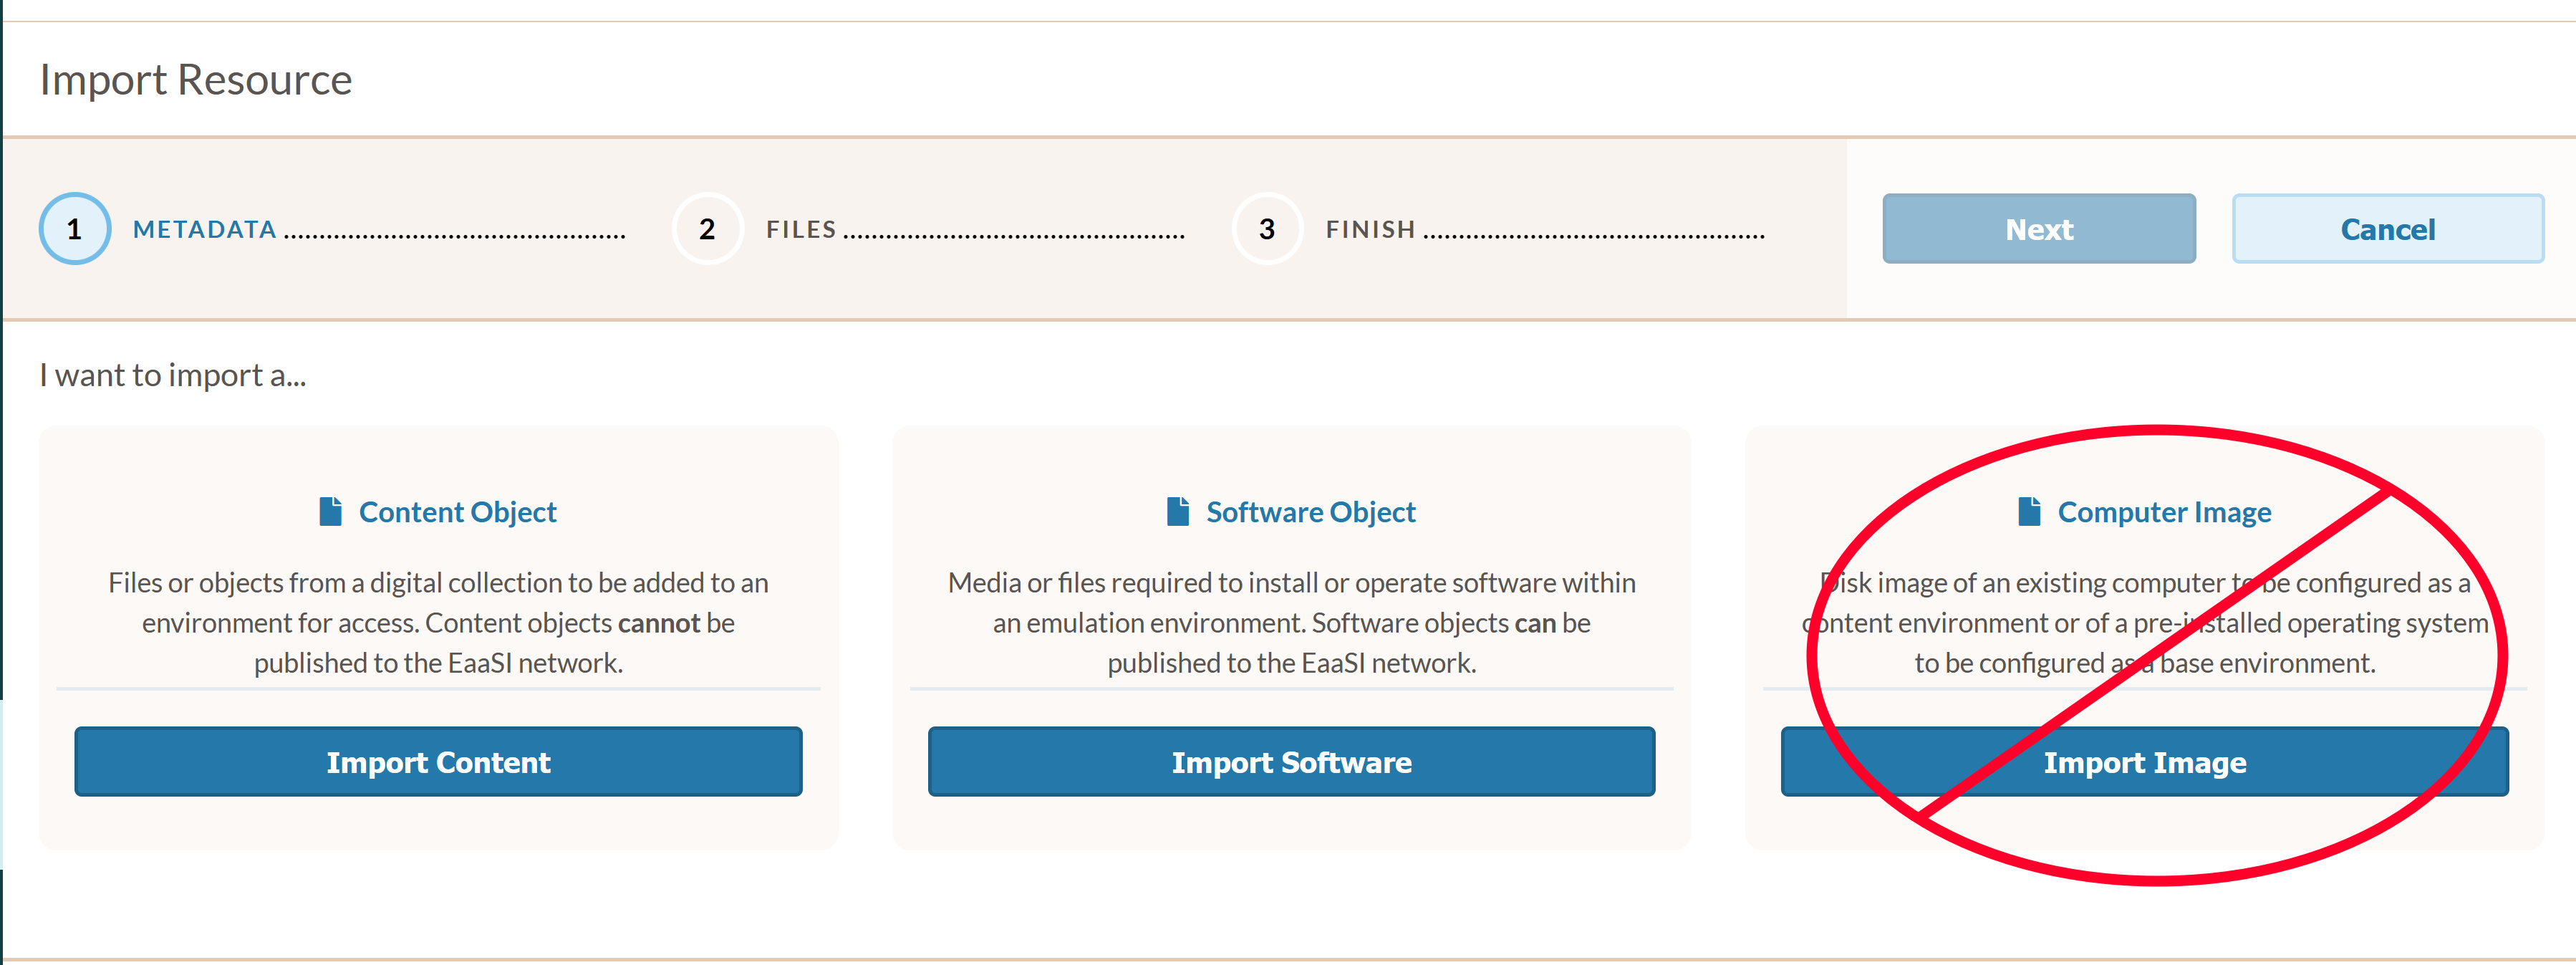
From there, please follow the corresponding instructions and guidelines below depending on whether you wish to import Content or Software.
Importing Content
To begin, select the “Import Content” button on the Import Resource page.
First, you will need to name your Content resource. This should be something short and descriptive; spaces, periods, hyphens and underscores are OK, but please avoid using other special characters. Then proceed by clicking “Continue”.
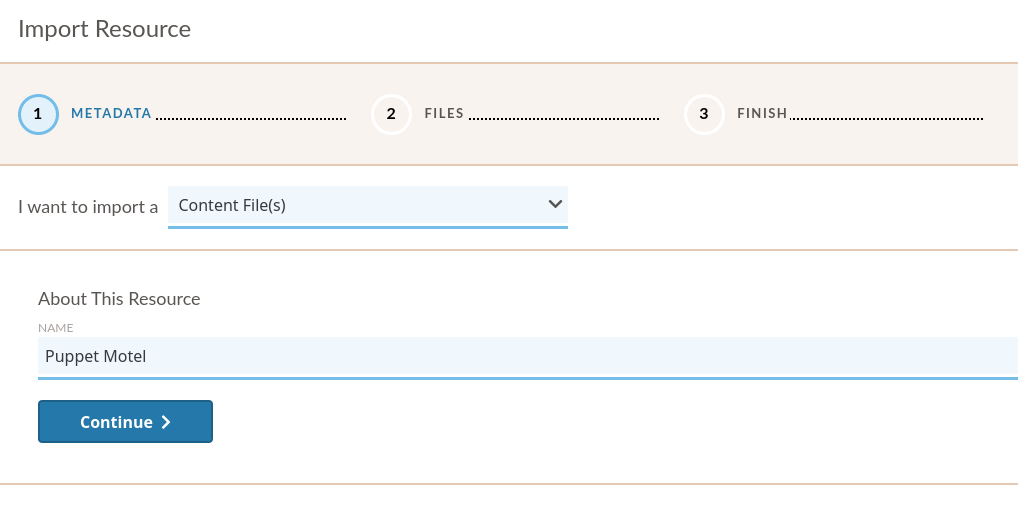
You have three options for attaching and uploading files to be included in an import:
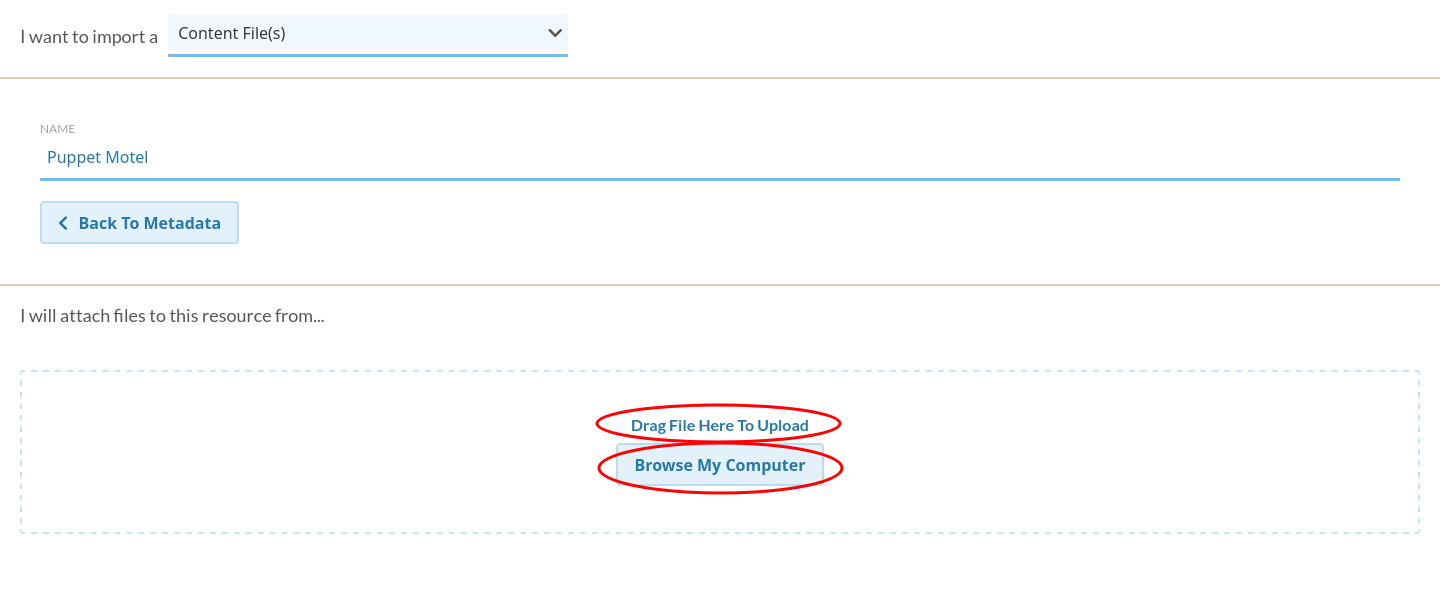
Browse My Computer: Will pull up a file browser for you to manually select the file(s) from your computer that make up your desired Content.
Drag Files: You may drag-and-drop the file(s) from your desktop to make up your desired Content.
Once at least one file is selected, the UI will allow you to “Add More Files” to create a multi-file resource:
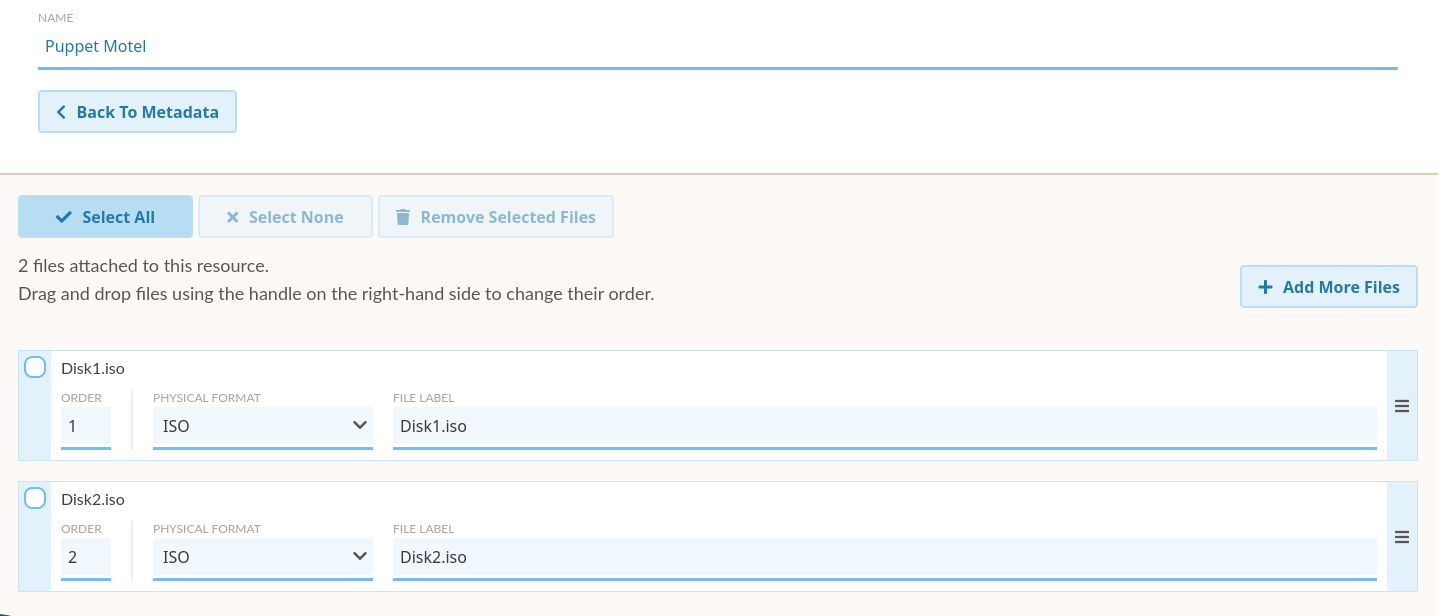
You may add as many files as desired.
There are four Physical Formats available to describe the file(s) being uploaded. The Physical Format will be used by EaaS to communicate to emulators where/how to mount an object into an environment (i.e. relevant file system and/or virtual drive).
ISO - Mounts the object in an environment’s virtual optical/CD-ROM drive. Should accept any file extension.
Floppy - Mounts the object in an environment’s virtual floppy drive. Should accept any file extension.
Disk - Attempts to mount the object as a hard drive (success may thus be highly variable depending on an environment’s configured hardware, the operating system’s compatibility with the image’s file system, etc.). Should accept most if not all hard disk image formats (IMG, DMG, DD/raw, QCOW, VDI, VMDK, E01/EWF, etc.)
Files - This option will accept any arbitrary, flat set of files. To allow the arbitrary file set to be mounted in the broadest possible range of operating systems, imported file sets are currently packaged by EAASI into an ISO file on the back-end; Files objects should thus mount in an environment’s virtual CD-ROM/optical drive.
Warning
The “Files” type object group does not accept selecting directories, so can not handle/preserve nested file structures. See Importing File Hierarchies for work-around guidance.
For “ISO”, “Floppy”, and “Disk” type resources, the files that make up the Content must be of the same Physical Format to mount and switch between files/disks properly in emulation. Mixed-format resources are currently not supported.
Warning
For example, An operating system installer might contain a boot floppy and then multiple CD-ROMs. The floppy image and the CD-ROM images must be considered and imported as different resources, but the CD-ROM images should likely be imported together as a single resource.
You can change the Physical Format of many/all files associated with the resource at once by using the Select All button. When multiple files are selected in the import menu, changing the Physical Format of one file will change the Physical Format of all files selected accordingly.
Once all desired files have been selected, click “Finish Import” at the top of the page:
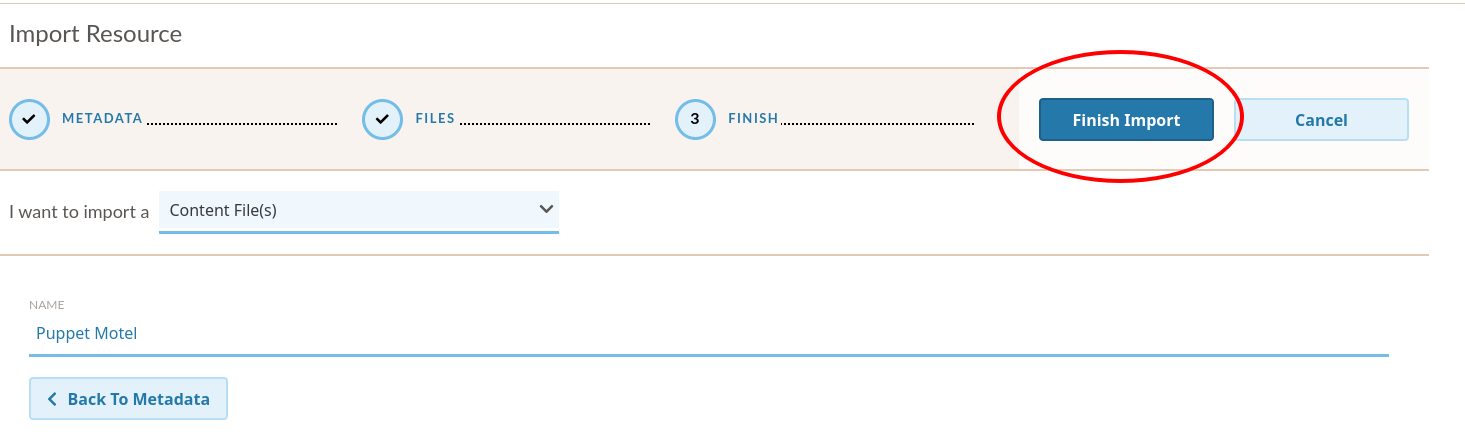
Please do not navigate away from the import page until the upload is completed (i.e. the EAASI logo stops spinning)
On successful import, the new Content resource will be available in the Explore Resources menu.
Importing Software
The steps for importing Software resources are the same as those for Importing Content described above. At this time the EAASI team recommends including as much immediately descriptive version detail as possible, in brief, into the Software resource’s Name: e.g. “FileMaker Pro 4.0 for Windows”
The only difference from importing Content is that at the end of the import process, the object will be labelled and used functionally as a Software resource.
Importing Computer Images
Warning
Due to severe technical limitations, stand-alone Image resources in v2021-10 of EAASI are visible to ALL user accounts in ALL Organizations across an EAASI server. Image resources are also unusable on the Emulation Project page - even by the user account that imported them.
Due to these limitations, the EAASI team STRONGLY URGES users DO NOT USE the “Import Computer Image” workflow; see New Environments from Scratch for instructions on importing and making use of Computer Image resources.
“Computer Images” are a special kind of EAASI resource, referring to a disk image of a pre-existing machine that the user might want to import into EAASI: either a virtual machine originally created in another emulation/virtualization application, or taken from the hard drive of a physical computer. Blank/unformatted Computer Images are also technically necessary in order to create new environments from scratch.